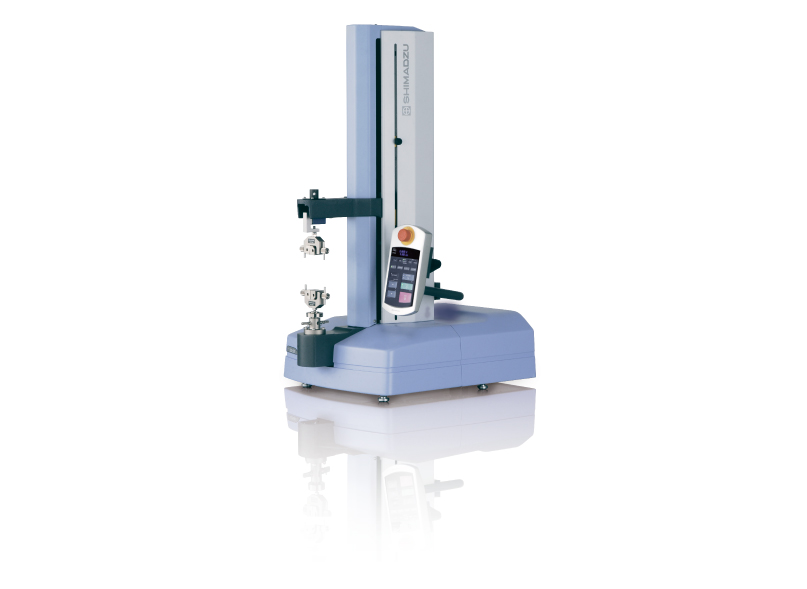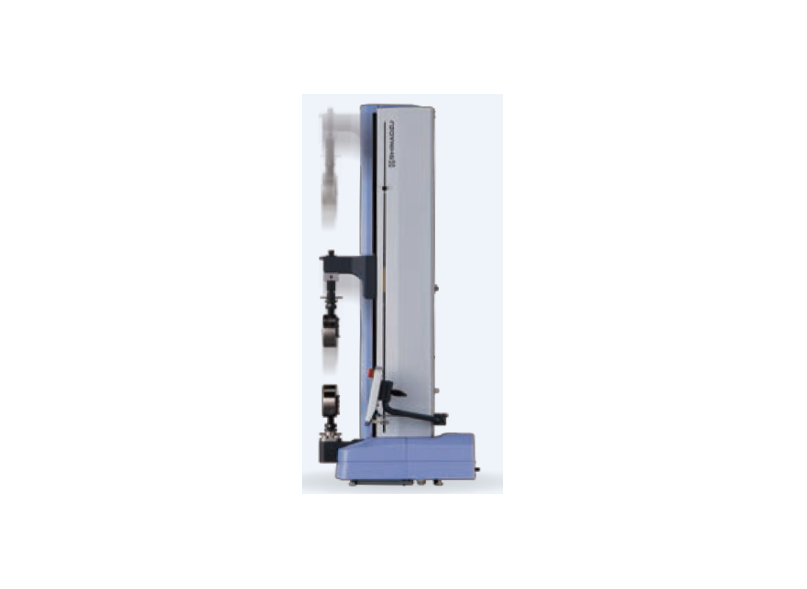


EZ-SX
Specifications
| Tester Load Capacity (note 1) | : | Max. 500 N | |
| : | The load cell type can be selected from 9 types; | ||
| 1 N, 2 N, 5 N, 10 N, 20 N, 50 N, 100 N, 200 N, and 500 N. | |||
| Load Method | : | High-precision constant-speed strain measurement using backlash-free | |
| ball screw drive | |||
| Test Force Measurement | High-Precision Type (note 2) | : | ±0.5 % of indicated value (within 1/500 to 1/1 of load cell rated capacity) |
| Conforms to JIS B 7721 class 0.5, ISO 7500-1 class 0.5, EN 10002-2 | |||
| grade 0.5, and ASTM E4. | |||
| Standard-Precision Type (note 2) | : | ±1 % of indicated value (within 1/500 to 1/1 of load cell rated capacity) | |
| Conforms to JIS B 7721 class 1, ISO 7500-1 class 1, EN 10002-2 | |||
| grade 1, and ASTM E4.. | |||
| Range | : | 1 range (rangeless) | |
| Test Force Calibration | : | Automatic calibration using calibration cable | |
| Crosshead Speed Range | : | 0.001 to 1000 mm/min | |
| Maximum Return Speed | : | 1500 mm/min | |
| Crosshead Speed Accuracy (Note 3) | : | Within ±0.1% of test speed | |
| Crosshead Speed and Allowable Test Force | : | Up to the capacity of the load cell used at all speeds | |
| Distance Between Crosshead and Jig Mounting Surface | : | 500 mm | |
| Maximum Grip Space | : | Maximum Grip Space 395 mm (500 N max. load cell + tensile jig) | |
| Depth of Test Space | : | 100 mm (table section) | |
| Crosshead Position Detection | Measurement & Display | : | Optical encoder measurement, digital display (display resolution: 1 μm) |
| Accuracy | : | 0.1% of indicated value or 0.01 mm, whichever is greater | |
| Crosshead Control | : | Single test control (single-direction tension or compression test), cycle | |
| test control (repetitive tension or compression test) | |||
| Sampling Speed | : | 1 ms MAX (TRAPEZIUM X/TRAPEZIUM LITE X is needed for this function) | |
| Standard Functions Included | : | Constant test force (creep) control (note 4) | |
| Auto-stop and auto-return functions when specimen fracture is detected | |||
| (crosshead auto home-position return) | |||
| Test condition file function, user-settable crosshead speed function | |||
| Display function: Actual test force display or stress display (user settable) | |||
| Crosshead displacement display in mm or %/GL (user selectable) | |||
| Peak point test force and stroke | |||
| Test force and displacement analog output: 0 V to 5 V DC full scale, | |||
| respectively (for external recorder) | |||
| USB interface | |||
| Manual crosshead position fine adjustment | |||
| Adjustable controller | |||
| Touch load alarm | |||
| Dimensions and Weight | : | W400 × D530 × H885 mm, Approx. 33 kg | |
| Input Power Supply Voltage (Note 5) | : | Single phase, 100 V to 150 V AC, 50/60 Hz, or 200V to 230V AC, 50/60 Hz | |
| Power Capacity | : | 700 VA | |
| Installation Environmental Conditions | : | Temperature: 5°C to 40°C, Humidity: 20% to 80% (no condensation) | |
| Power voltage fluctuation: Within ±10%, Vibration: 10 Hz max., amplitude 5 μm max. | |||
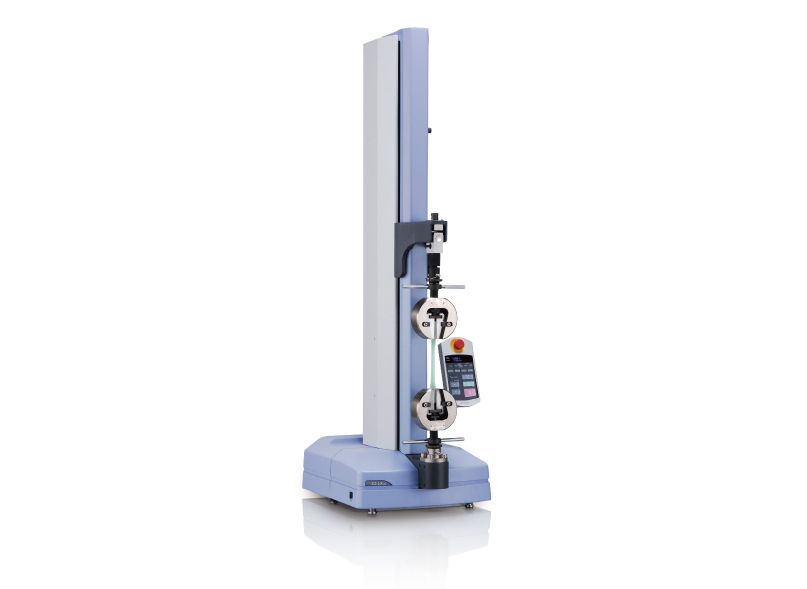
EZ-LX
Specifications
| Tester Load Capacity (note 1) | : | Max. 5kN | |||||
| : | The load cell type can be selected from 12 types; 1 N, 2 N, 5 N, 10 N, | ||||||
| 20 N, 50 N, 100 N, 200 N, 500 N, 1 kN, 2 kN and 5 kN. | |||||||
| (Up to 2 kN for EZ-LX HS) | |||||||
| Load Method | : | High-precision constant-speed strain measurement using backlash-free | |||||
| ball screw drive | |||||||
| Test Force Measurement | High-Precision Type (note 2) | : | ±0.5 % of indicated value (within 1/500 to 1/1 of load cell rated capacity) | ||||
| Conforms to JIS B 7721 class 0.5, ISO 7500-1 class 0.5, EN 10002-2 | |||||||
| grade 0.5, and ASTM E4. | |||||||
| Standard-Precision Type (note 2) | : | ±1 % of indicated value (within 1/500 to 1/1 of load cell rated capacity) | |||||
| Conforms to JIS B 7721 class 1, ISO 7500-1 class 1, EN 10002-2 | |||||||
| grade 1, and ASTM E4.. | |||||||
| Range | : | 1 range (rangeless) | |||||
| Test Force Calibration | : | Automatic calibration using calibration cable | |||||
| Crosshead Speed Range | : | 0.001 to 1000 mm/min | |||||
| Maximum Return Speed | : | 1500 mm/min | |||||
| Crosshead Speed Accuracy (Note 3) | : | Within ±0.1% of test speed | |||||
| Crosshead Speed and Allowable Test Force | : | Up to the capacity of the load cell used at all speeds | |||||
| Distance Between Crosshead and Jig Mounting Surface | : | 920 mm | |||||
| Maximum Grip Space | : | 700 mm (5 kN load cell + 5 kN screw type flat grips) | |||||
| 755 mm (1 kN load cell + 1 kN screw type flat grips) | |||||||
| 860 mm (500 N max. load cell + tensile jig) | |||||||
| Depth of Test Space | : | 100 mm (table section) | |||||
| Crosshead Position Detection | Measurement & Display | : | Optical encoder measurement, digital display (display resolution: 1 μm) | ||||
| Accuracy | : | 0.1% of indicated value or 0.01 mm, whichever is greater | |||||
| Crosshead Control | : | Single test control (single-direction tension or compression test), cycle | |||||
| test control (repetitive tension or compression test) | |||||||
| Sampling Speed | : | 1 ms MAX (TRAPEZIUM X/TRAPEZIUM LITE X is needed for this function) | |||||
| Standard Functions Included | : | Constant test force (creep) control (note 4) | |||||
| Auto-stop and auto-return functions when specimen fracture is detected | |||||||
| (crosshead auto home-position return) | |||||||
| Test condition file function, user-settable crosshead speed function | |||||||
| Display function: Actual test force display or stress display (user settable) | |||||||
| Crosshead displacement display in mm or %/GL (user selectable) | |||||||
| Peak point test force and stroke | |||||||
| Test force and displacement analog output: 0 V to 5 V DC full scale, | |||||||
| respectively (for external recorder) | |||||||
| USB interface | |||||||
| Manual crosshead position fine adjustment | |||||||
| Adjustable controller | |||||||
| Touch load alarm | |||||||
| Dimensions and Weight | : | W400 × D530 × H1315 mm, Approx. 55 kg | |||||
| Input Power Supply Voltage (Note 5) | : | Single phase, 100 V to 150 V AC, 50/60 Hz, or 200V to 230V AC, 50/60 Hz | |||||
| Power Capacity | : | 850 VA | |||||
| Installation Environmental Conditions | : | Temperature: 5°C to 40°C, Humidity: 20% to 80% (no condensation) | |||||
| Power voltage fluctuation: Within ±10%, Vibration: 10 Hz max., amplitude 5 μm max. | |||||||
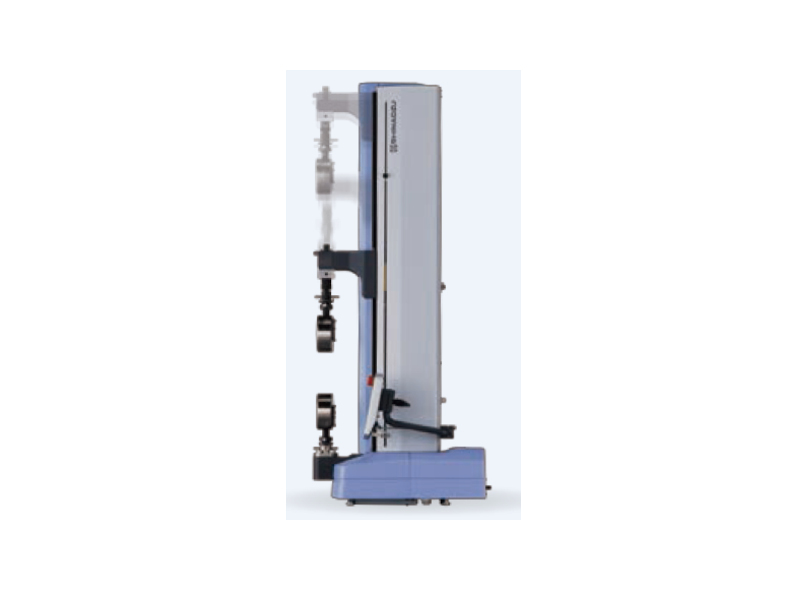
EZ-LX HS
Specifications
| Tester Load Capacity (note 1) | : | Max. 2kN | |
| : | The load cell type can be selected from 12 types; 1 N, 2 N, 5 N, 10 N, | ||
| 20 N, 50 N, 100 N, 200 N, 500 N, 1 kN, 2 kN and 5 kN. | |||
| (Up to 2 kN for EZ-LX HS) | |||
| Load Method | : | High-precision constant-speed strain measurement using backlash-free | |
| ball screw drive | |||
| Test Force Measurement | High-Precision Type (note 2) | : | ±0.5 % of indicated value (within 1/500 to 1/1 of load cell rated capacity) |
| Conforms to JIS B 7721 class 0.5, ISO 7500-1 class 0.5, EN 10002-2 | |||
| grade 0.5, and ASTM E4. | |||
| Standard-Precision Type (note 2) | : | ±1 % of indicated value (within 1/500 to 1/1 of load cell rated capacity) | |
| Conforms to JIS B 7721 class 1, ISO 7500-1 class 1, EN 10002-2 | |||
| grade 1, and ASTM E4.. | |||
| Range | : | 1 range (rangeless) | |
| Test Force Calibration | : | Automatic calibration using calibration cable | |
| Crosshead Speed Range | : | 0.001 to 2000 mm/min | |
| Maximum Return Speed | : | 3000 mm/min | |
| Crosshead Speed Accuracy (Note 3) | : | Within ±0.1% of test speed | |
| Crosshead Speed and Allowable Test Force | : | Up to the capacity of the load cell used at all speeds | |
| Distance Between Crosshead and Jig Mounting Surface | : | 920 mm | |
| Maximum Grip Space | : | 700 mm (5 kN load cell + 5 kN screw type flat grips) | |
| 755 mm (1 kN load cell + 1 kN screw type flat grips) | |||
| 860 mm (500 N max. load cell + tensile jig) | |||
| Depth of Test Space | : | 100 mm (table section) | |
| Crosshead Position Detection | Measurement & Display | : | Optical encoder measurement, digital display (display resolution: 1 μm) |
| Accuracy | : | 0.1% of indicated value or 0.01 mm, whichever is greater | |
| Crosshead Control | : | Single test control (single-direction tension or compression test), cycle | |
| test control (repetitive tension or compression test) | |||
| Sampling Speed | : | 1 ms MAX (TRAPEZIUM X/TRAPEZIUM LITE X is needed for this function) | |
| Standard Functions Included | : | Constant test force (creep) control (note 4) | |
| Auto-stop and auto-return functions when specimen fracture is detected | |||
| (crosshead auto home-position return) | |||
| Test condition file function, user-settable crosshead speed function | |||
| Display function: Actual test force display or stress display (user settable) | |||
| Crosshead displacement display in mm or %/GL (user selectable) | |||
| Peak point test force and stroke | |||
| Test force and displacement analog output: 0 V to 5 V DC full scale, | |||
| respectively (for external recorder) | |||
| USB interface | |||
| Manual crosshead position fine adjustment | |||
| Adjustable controller | |||
| Touch load alarm | |||
| Dimensions and Weight | : | W400 × D530 × H1315 mm, Approx. 55 kg | |
| Input Power Supply Voltage (Note 5) | : | Single phase, 100 V to 150 V AC, 50/60 Hz, or 200V to 230V AC, 50/60 Hz | |
| Power Capacity | : | 850 VA | |
| Installation Environmental Conditions | : | Temperature: 5°C to 40°C, Humidity: 20% to 80% (no condensation) | |
| Power voltage fluctuation: Within ±10%, Vibration: 10 Hz max., amplitude 5 μm max. | |||